Quick start
Getting started
Section titled “Getting started”Log in
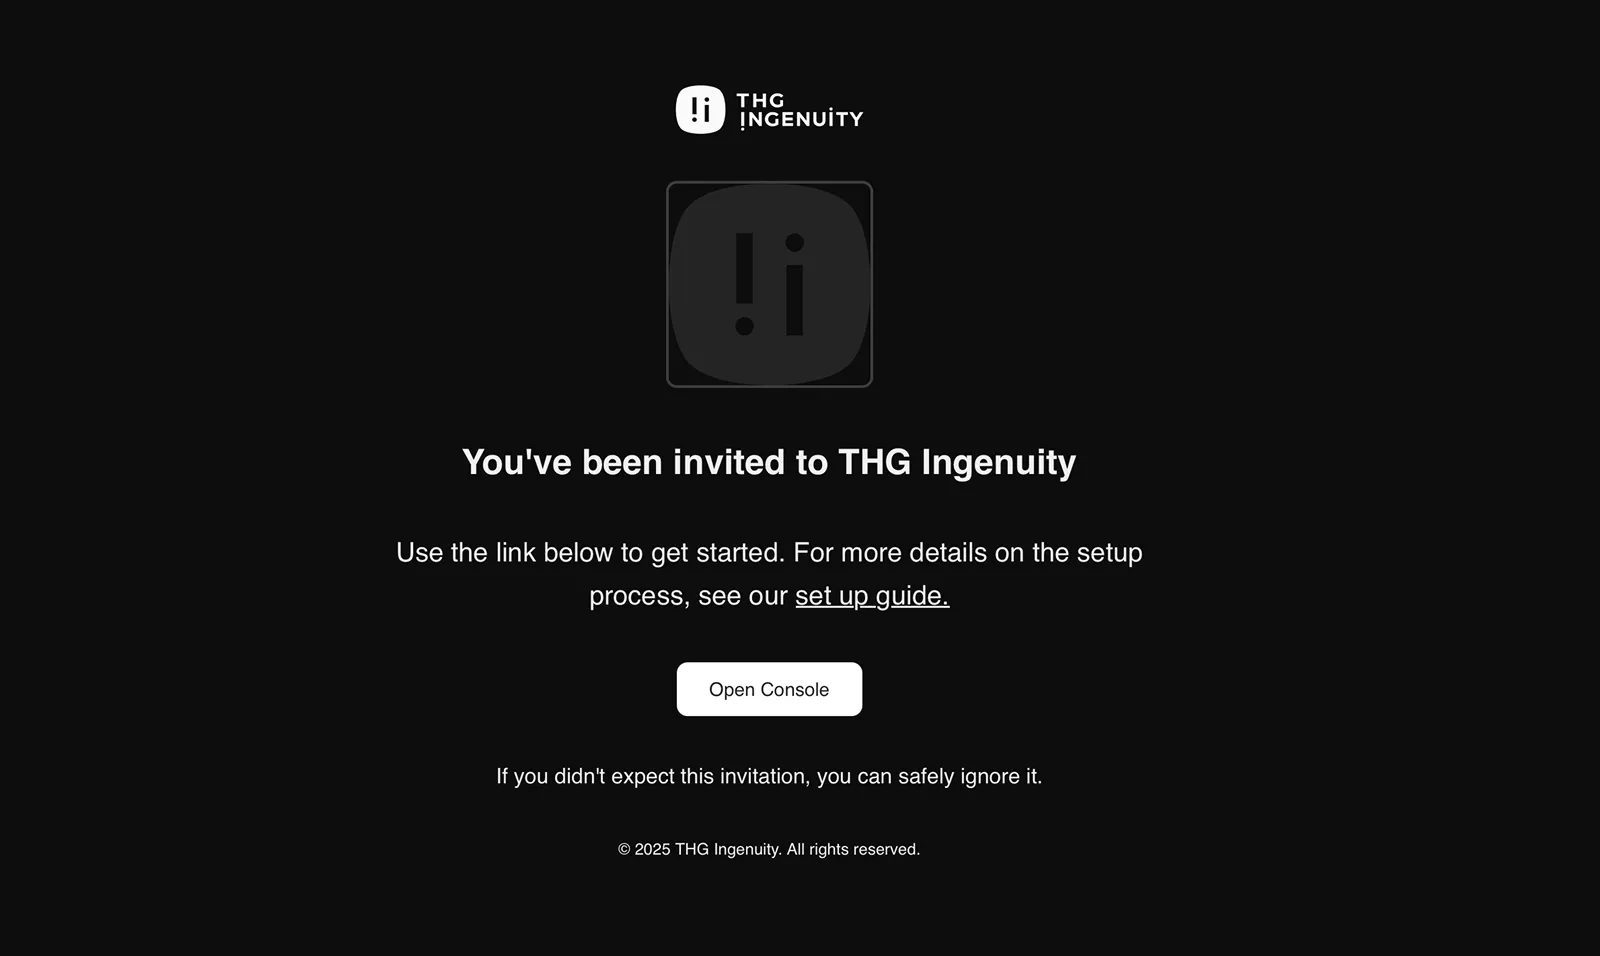
Section titled “Log in”New users receive an email invitation to join the Ingenuity Console. Click the Open Console button in the invitation email to begin the setup process. The console supports both single sign-on (SSO) and standard email/password authentication, depending on your organisation’s configuration. If your organisation uses SSO, you’ll log in with your existing company credentials — for example, through a provider like Okta — rather than setting up a separate Ingenuity password.
Set up two-step verification
Section titled “Set up two-step verification”If you log in with an email and password, the console asks you to add a second step to your sign-in the first time you log in. This keeps your account safe even if your password is ever leaked. Users who log in through their organisation’s SSO skip this step.
You will be asked to choose one of two methods:
- Security key — the easiest option for most people. Select it and your browser takes over. On a laptop it usually shows a QR code to scan with your phone, and your phone then confirms it’s you. If you own a physical security key, that works too.
- Authenticator app — install a free app on your phone such as Microsoft Authenticator or Google Authenticator. In the app, add an account by scanning the QR code on screen, then type in the 6-digit code the app shows you. If your phone can’t scan the code, click Can’t scan the code? to get a setup key you can type into the app instead.
Picked the wrong one? Every screen has a Try another method link that takes you back to the list.
Note: On later logins you enter your password as usual, then complete your second step: confirm on your phone or security key, or type the current code from your authenticator app. Where a Remember this browser option is offered, ticking it skips the second step on that browser for 30 days.
Switch applications
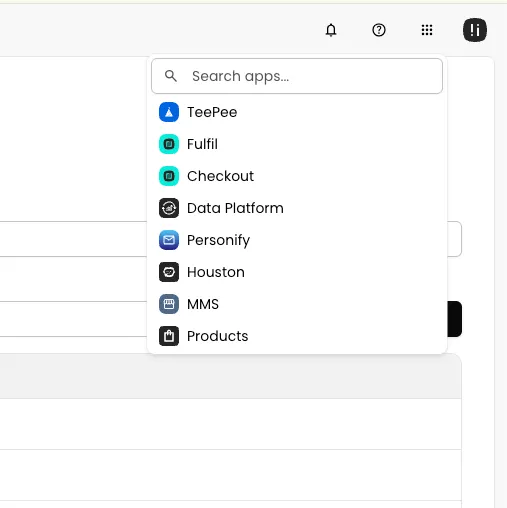
Section titled “Switch applications”The Ingenuity Console provides access to multiple applications. Use the app switcher in the top navigation bar to move between them from anywhere in the console.
Available applications depend on your role and organisation settings. Applications you don’t have access to will appear greyed out.
Manage users
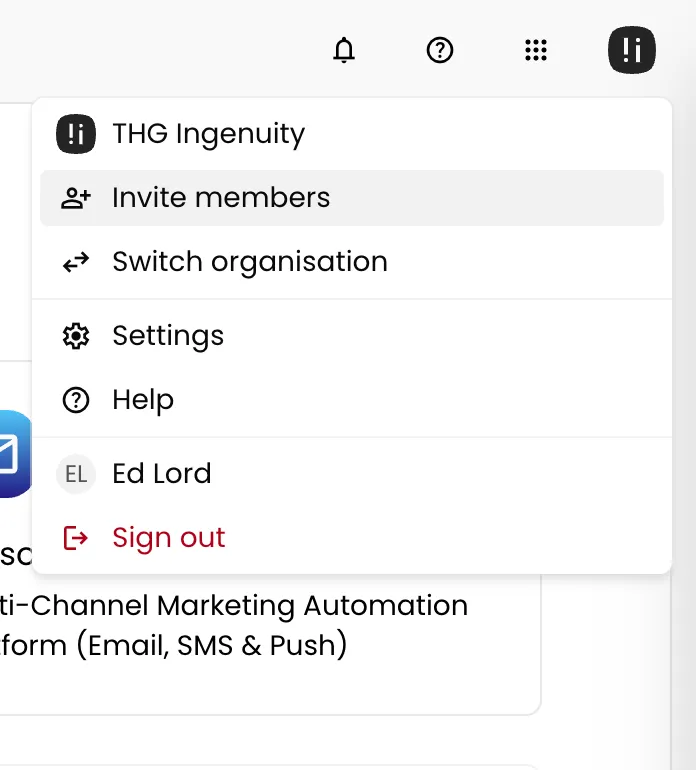
Section titled “Manage users”Adding and managing your team is entirely self-service — there’s no need to raise a support ticket. Users with the appropriate permissions can invite new members to their organisation directly from the console. Navigate to the Account Dropdown and click Invite Members, or go to Settings > Users and click Add user.
Both options open the same form:
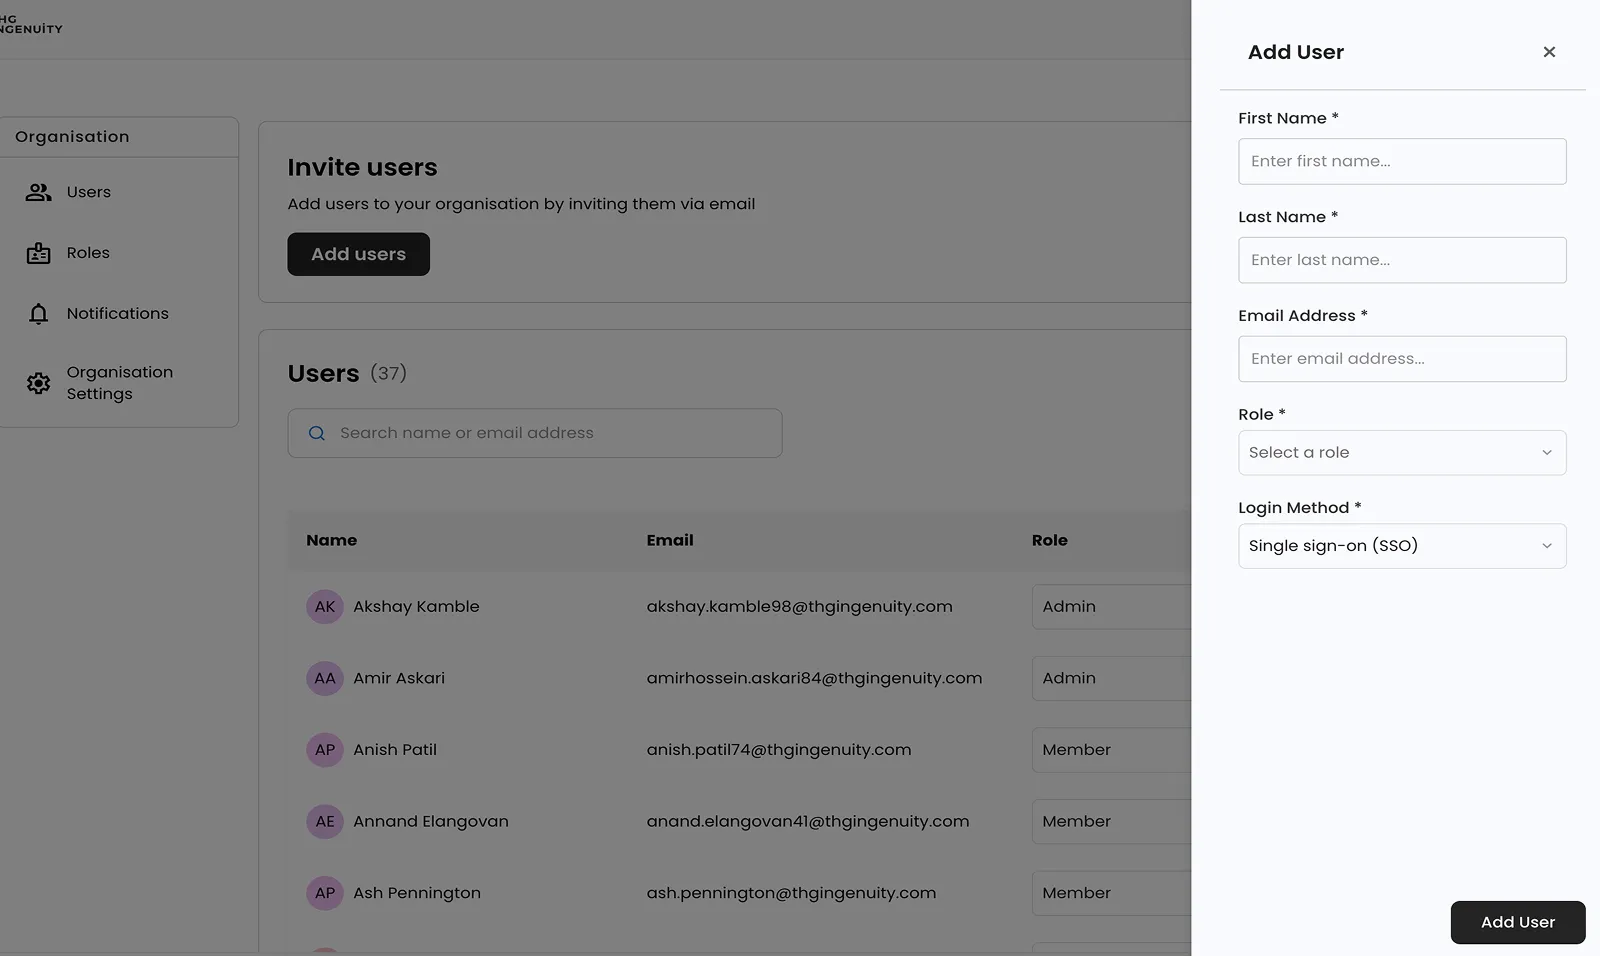
There are two login methods available:
- Email & Password — the user logs in with a username and password set up specifically for the Ingenuity Console
- SSO — the user authenticates with their existing company credentials rather than a separate Ingenuity password
If your organisation has SSO configured, a warning will appear if you select Email & Password instead.
Once submitted, the user will receive an email invitation with an Open Console button to complete their setup.
Change a user’s role
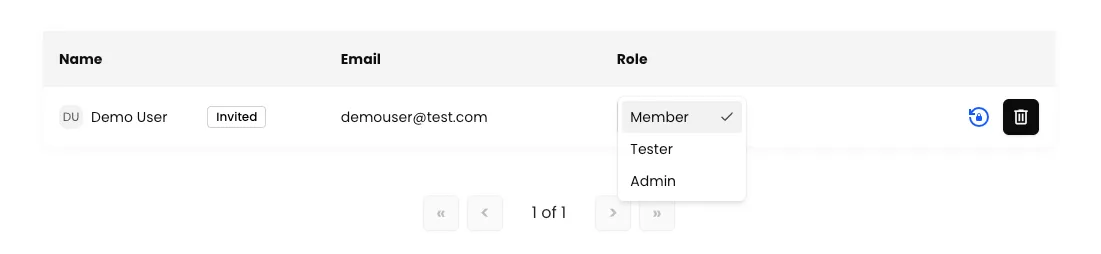
Section titled “Change a user’s role”Select a new role from the dropdown in the Role column of the Users table. Role changes take effect immediately.
Edit a user’s name
Section titled “Edit a user’s name”Hover over a user’s name in the Users table and click the edit icon. Update the name and press Enter to save.

Remove a user
Section titled “Remove a user”Click the delete icon next to a user’s name and confirm by entering their email address. This removes them from your organisation only — it does not affect their access to other organisations.

Reset a password
Section titled “Reset a password”Click the reset password icon next to a user’s name in the Users table. The user will receive an email to set a new password.

Note: Password reset is only available for users with the Email & Password login method. Users who authenticate via SSO must reset their password through whichever service manages their company login (such as Okta).
Reset two-step verification
Section titled “Reset two-step verification”If a user can no longer complete their second step, for example because they have a new phone, open the menu next to their name in the Users table, choose Reset MFA and confirm. This removes every method they had set up. They receive an email letting them know, and are asked to set up two-step verification again the next time they log in.
Note: Like password reset, this is only available for users with the Email & Password login method.
Roles and permissions
Section titled “Roles and permissions”Roles and permissions are managed directly by your own admins — no support request required. Everything below can be set up and adjusted directly in the console.
What is a role?
Section titled “What is a role?”A role is a collection of permissions. Rather than configuring access for each person individually, you define a role — for example Store Owner, Warehouse Assistant, or Customer Service Agent — and assign permissions to it. Anyone given that role inherits the same access automatically.
For example, a Store Owner role might be given permission to:
- View sales and performance reports
- Add, edit, and remove products
- Manage staff for their store
- Process refunds
Whereas a Customer Service Agent role might only need:
- View customer orders
- Process refunds
- Update order details
This means access only needs to be defined once per role — every user assigned that role will have exactly the same permissions.
Create roles
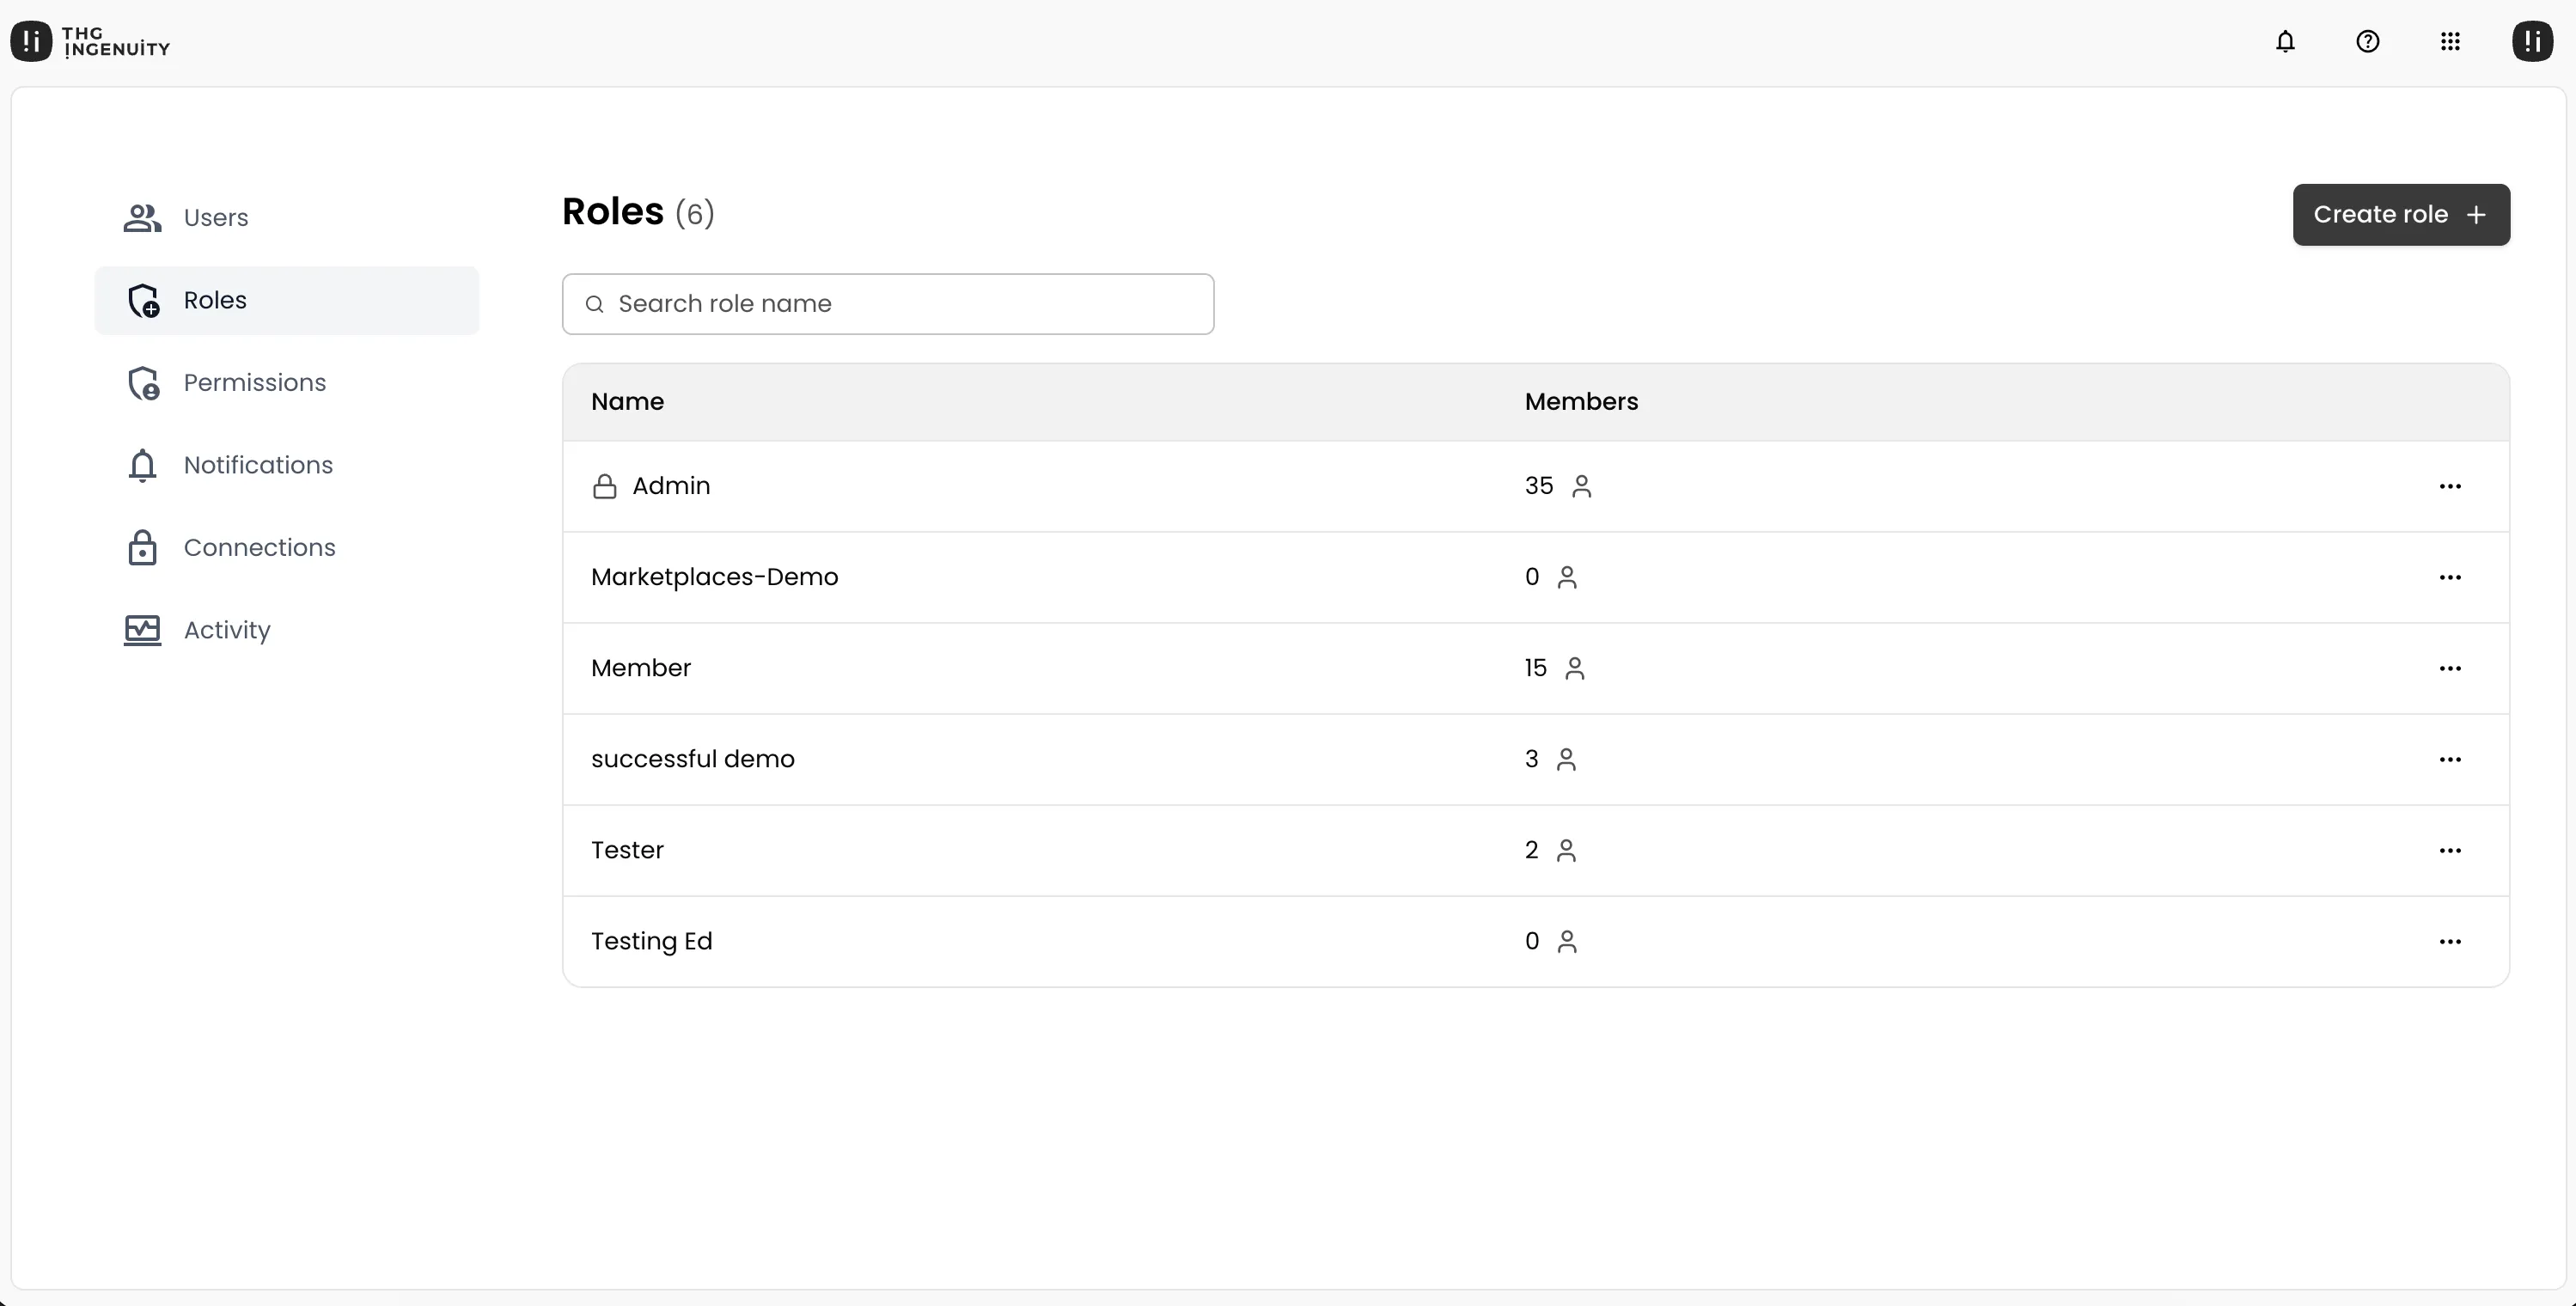
Section titled “Create roles”Users with administrative permissions can create and manage roles to control team member access. Navigate to Settings > Roles from the left sidebar.
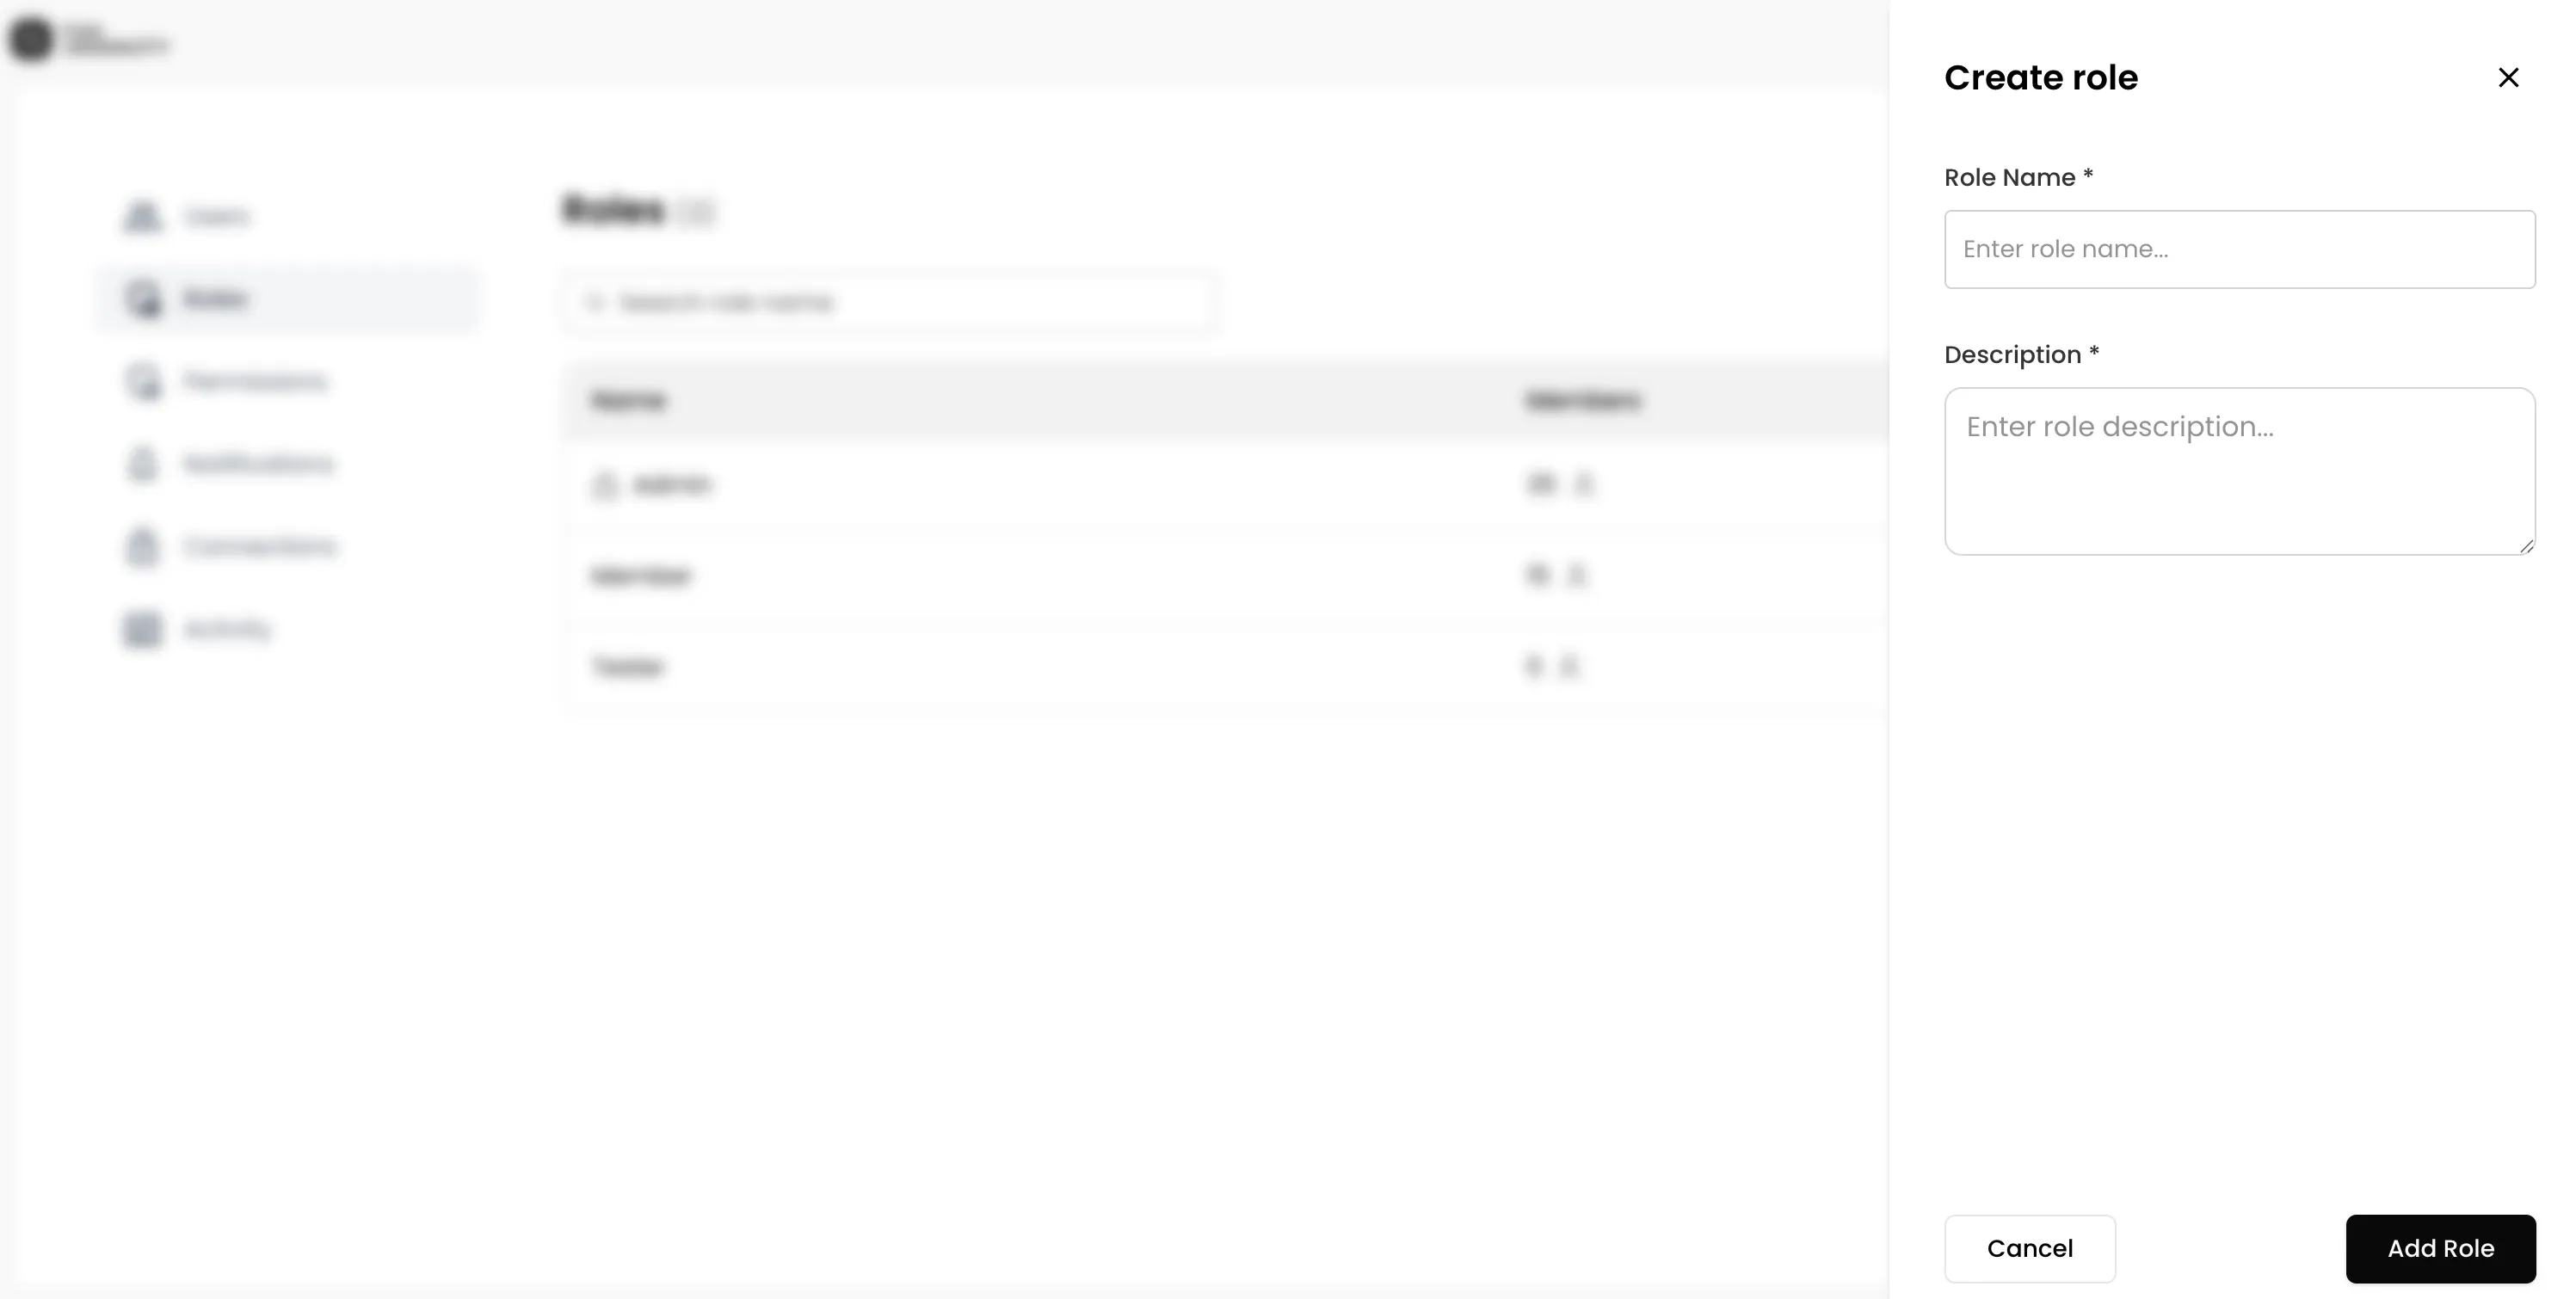
To create a new role, click Add role and provide a name and description. Once created, roles can be assigned to users on the Users page. The Roles page displays all existing roles and shows how many members are assigned to each.
Manage permissions
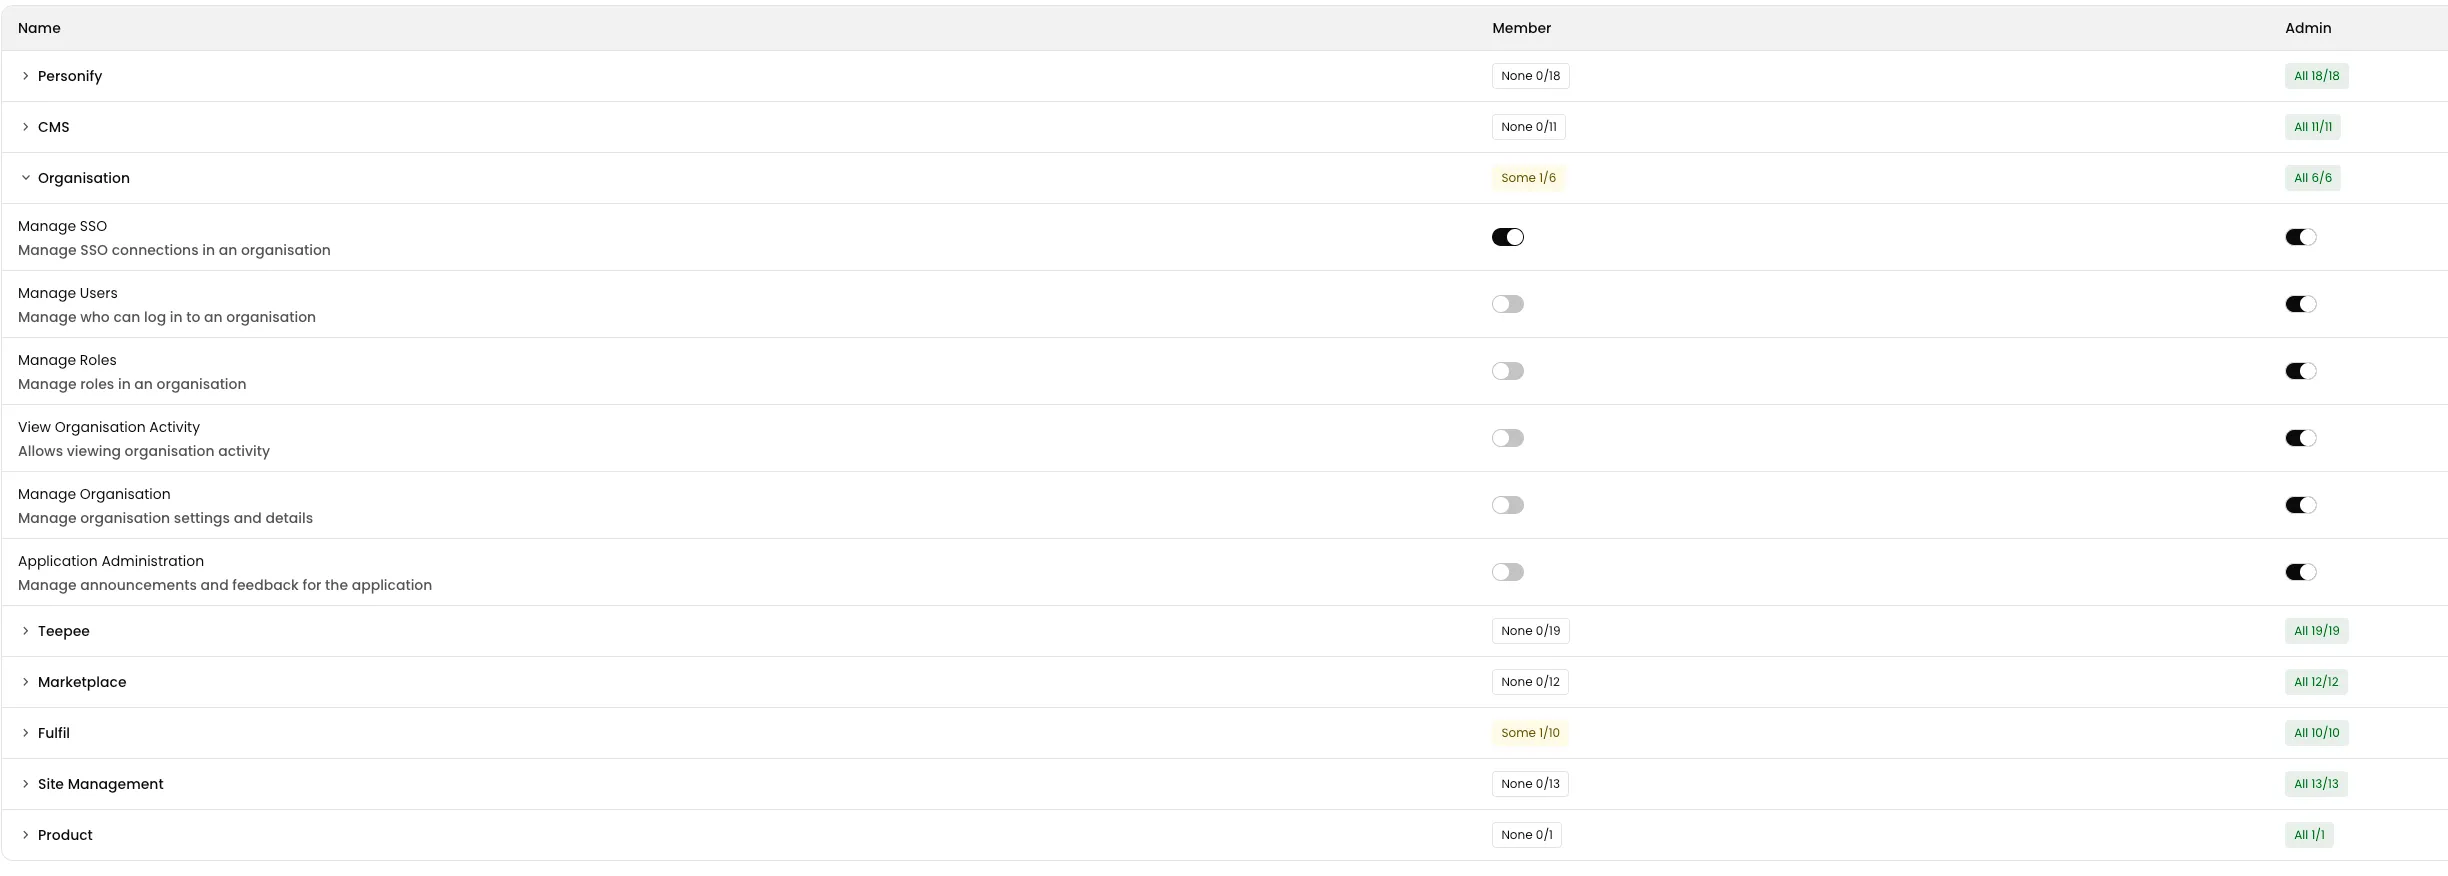
Section titled “Manage permissions”Permissions control what actions each role can perform. They are managed from Organisation Settings > Roles, where a table displays all available permissions as columns and your roles as rows.
To grant a permission to a role, check the corresponding box. Changes take effect immediately — any user assigned that role will gain or lose access straight away.
The roles shown in the table can be filtered using the dropdown at the top.
Two types of permission
Section titled “Two types of permission”Permissions can apply in two different ways, depending on how wide or narrow you want someone’s access to be:
- Organisation-wide — applies across the entire organisation. For example, if a role has the “Manage users” permission enabled, anyone with that role can invite and remove users anywhere in the organisation.
- Entity-specific — applies only to a particular site, region, or warehouse. For example, a role could be granted edit access scoped to European sites only, leaving all other sites unaffected.
Entity-specific permissions are useful when access should be limited to a defined area — for instance, a regional manager who should only be able to make changes within their own territory.
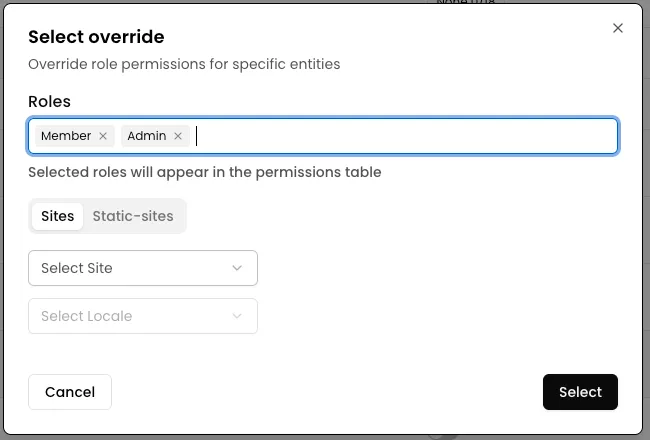
In the example above, the UK locale of the Arrow Films website has been selected, so the permissions displayed in the table apply only to that site.